Welcome to the world of Vivitar drones! Designed for outdoor enthusiasts, these drones offer ease of use, durability, and exciting features. Reading the manual ensures optimal performance and safety, helping you unlock your drone’s full potential for unforgettable aerial experiences.
1.1 Overview of Vivitar Drone Models
Vivitar offers a range of drone models designed for various needs, from casual flying to advanced aerial photography. Popular models include the Sky Racer Drone (DRC-090), 360 SkEYEview Video Drone (ORC-888), and SkyHawk Foldable Video GPS Drone (DRC-447). Each model features unique specifications, such as GPS navigation, HD video capabilities, and foldable designs, catering to both beginners and experienced pilots.
1.2 Importance of Reading the Manual
Reading the manual is essential for understanding your Vivitar drone’s features, ensuring safe operation, and troubleshooting common issues. It provides step-by-step guides for assembly, pre-flight checks, and maintenance, helping you maximize performance and longevity. The manual also covers warranty details and proper usage, ensuring compliance with safety guidelines and optimal flying experiences.
System Requirements and Compatibility
Ensure your device meets the drone’s system requirements for seamless app connectivity. Compatible with iOS and Android, requiring a stable internet connection for optimal performance and updates.
2.1 Supported Devices for App Connectivity
The Vivitar UFO app is compatible with a wide range of devices, including smartphones and tablets running iOS 10.0 or later and Android 5.0 or higher. Ensure your device has a stable internet connection for optimal performance. For the best experience, use devices with screens larger than 5 inches to easily navigate the app’s features and settings.
2.2 Operating System Requirements
Your device must run iOS 10.0 or later for Apple devices or Android 5.0 (Lollipop) or higher for Android devices. Ensure your operating system is up to date for compatibility with the Vivitar UFO app. Check the app store for specific requirements before installation to guarantee smooth functionality and access to all drone features.
Unboxing and Inventory
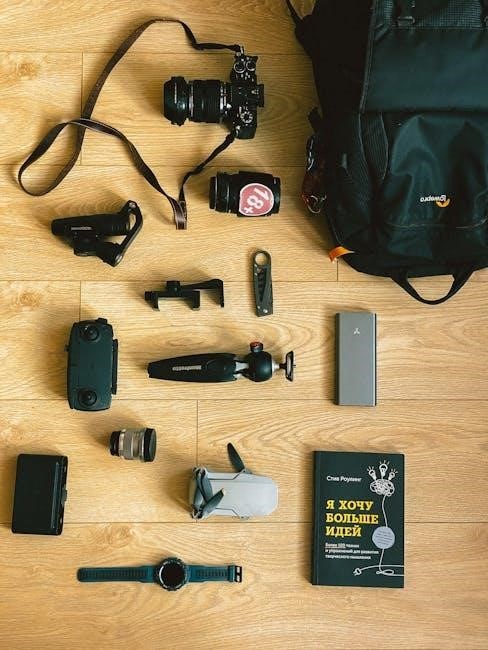
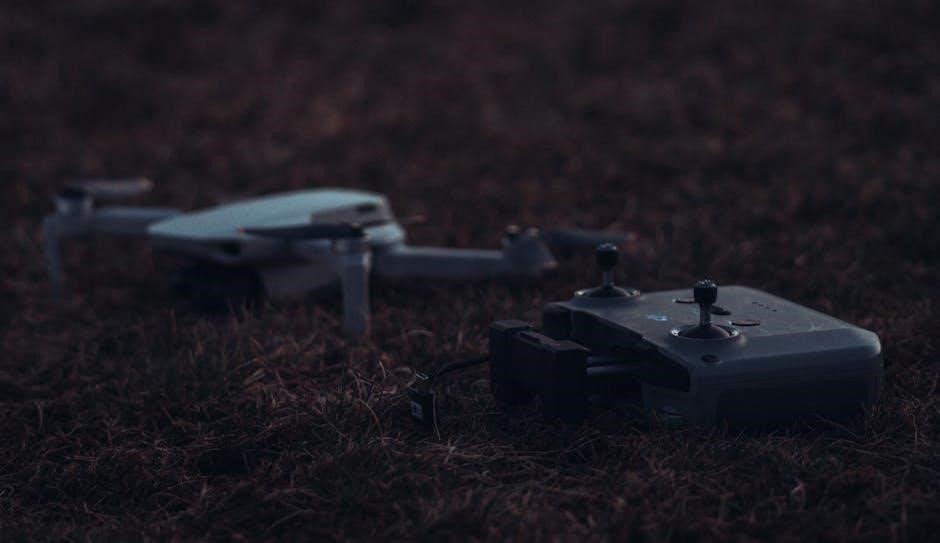
Upon unboxing, verify the contents: drone, remote controller, propellers, battery, charger, and user manual. Ensure all items are present and in good condition for first use.
3.1 List of Included Accessories
Your Vivitar drone package typically includes the drone unit, a remote controller, propellers, a rechargeable battery, a charger, and a comprehensive user manual. Additional items may vary by model but often include extra propeller sets, USB cables, and mounting hardware for cameras or other accessories. Always verify the contents against the manual to ensure nothing is missing before initial setup.
3.2 Checking for Damage or Missing Parts
Inspect the drone and accessories for visible damage, such as dents or cracks. Verify all items listed in the manual are included, such as the remote, propellers, battery, and charger. Ensure no parts are loose or broken. If any components are missing or damaged, contact customer support immediately to resolve the issue before initial use.
Safety Guidelines
Always follow local drone laws and fly in open areas away from obstacles. Ensure the drone is in good condition and operated responsibly for a safe experience.
4.1 Pre-Flight Safety Checks
Before each flight, ensure the propellers are securely attached and undamaged. Check the battery level and charge if necessary. Verify the remote controller is functioning correctly. Inspect the drone for any physical damage or wear. Make sure the flying area is clear of obstacles, people, and animals. Always follow local regulations and weather conditions for safe operations.
4.2 Operating in Open Areas
Always fly your Vivitar drone in open, spacious areas away from obstacles, people, and animals. Ensure the environment is clear to prevent collisions. Avoid flying near power lines, trees, or tall structures. Choose a location with good visibility and stable weather conditions. Open areas provide safer conditions for learning and practicing drone maneuvers, reducing the risk of accidents and damage to the device.

Drone Assembly
Assembling your Vivitar drone involves securely attaching propellers and mounting the camera. Follow the manual’s step-by-step guide to ensure all parts are correctly fitted for safe operation.
5.1 Attaching Propellers
Attaching propellers to your Vivitar drone is a straightforward process. Ensure the propellers are securely fastened using the provided wrench, following the manual’s instructions. Align the propeller hubs correctly and tighten clockwise. Proper installation is essential for stable flight and safety. Always handle propellers with care to avoid damage or injury.
5.2 Mounting the Camera
Mounting the camera on your Vivitar drone is essential for capturing high-quality footage. Secure the camera to the gimbal mount, ensuring it is tightly fastened. Use the provided gimbal lock to prevent movement during flight. Avoid overtightening, as this may damage the camera or gimbal. Ensure the camera is properly aligned and compatible with your drone model before flight for optimal performance and stability.
Charging the Drone
Charge your Vivitar drone using the provided USB charger. Ensure the battery is fully charged, which typically takes 1-2 hours, for optimal flight performance and longevity.
6.1 Charging Time and Battery Life
The Vivitar drone typically requires 1 to 2 hours for a full charge. Battery life varies between 15 to 30 minutes, depending on flight conditions and features used, ensuring extended aerial exploration and capturing memorable moments with ease and reliability.
6.2 Proper Charging Techniques
Always use the original charger and cable provided with your Vivitar drone to ensure safe and efficient charging. Avoid overcharging, as it may reduce battery lifespan. Charge the drone in a cool, dry place, away from direct sunlight. Never charge a damaged battery, and follow the manual’s guidelines for optimal battery health and performance.
Remote Controller Setup
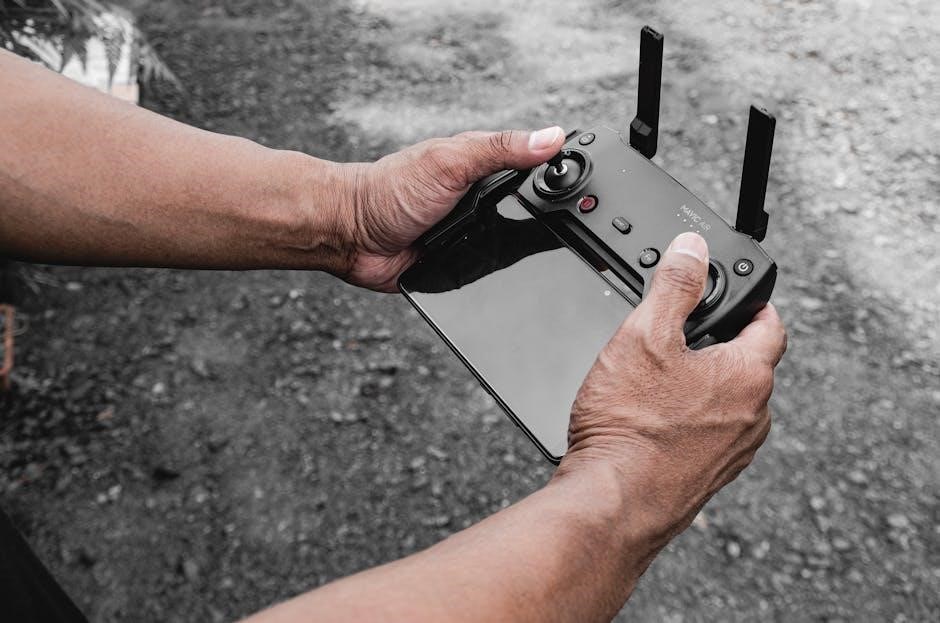
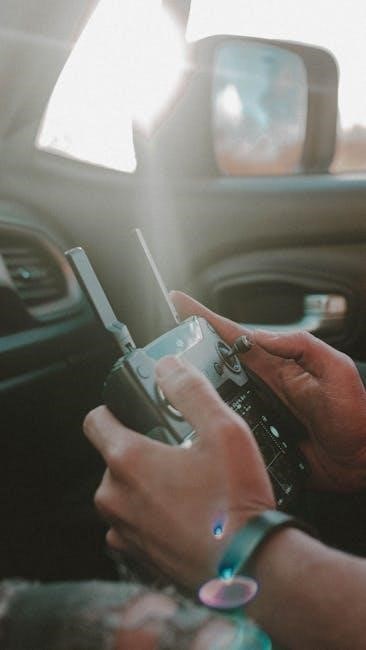
Setting up your Vivitar drone’s remote controller is straightforward. Insert the required batteries, sync the controller with the drone, and calibrate the joysticks for precise control.
7.1 Inserting Batteries
To power your remote controller, insert the required batteries as specified in the manual. Ensure batteries are fresh and properly aligned with terminals. Close the compartment securely after insertion. Always check batteries for damage before use to avoid malfunctions. Properly installed batteries ensure reliable control and optimal performance during flights. Follow the manual’s guidelines for recommended battery types and installation procedures.
7.2 Syncing the Remote with the Drone
To establish communication between the remote controller and drone, press and hold the power button on both devices simultaneously for a few seconds. The LED indicators will flash, signaling the syncing process. Once the lights stabilize, the remote and drone are successfully paired. Ensure the drone is powered on during this process for proper synchronization. This step is crucial for seamless control during flights.
Pairing the Drone with Your Device
Pairing your drone with your device enhances control and functionality. Download the Vivitar UFO app, connect via Wi-Fi, and follow in-app instructions to complete the pairing process.
8.1 Connecting via Wi-Fi
To connect your Vivitar drone via Wi-Fi, download the Vivitar UFO app from the App Store or Google Play. Ensure your drone is in Wi-Fi mode, then select its network on your device. Open the app, follow the pairing instructions, and complete the connection process to enable full drone control and feature access.
8.2 Downloading and Installing the Vivitar UFO App
Download the Vivitar UFO app from the App Store (iOS) or Google Play Store (Android). Search for “Vivitar UFO” and follow the installation prompts. Once installed, open the app to pair it with your drone. Ensure your device is connected to the drone’s Wi-Fi network before launching the app. Refer to the manual for detailed syncing instructions to complete the setup successfully.
Pre-Flight Checklist
Ensure the drone and remote are fully charged, propellers are secure, and all safety checks are completed. Confirm open airspace and optimal weather conditions for a safe flight.
9.1 Ensuring Proper Calibration
Before each flight, calibrate your Vivitar drone to ensure accurate navigation. Start by placing the drone on a flat, level surface and follow the app’s calibration instructions. This process aligns the compass and gyroscope, enhancing stability and control. Proper calibration is crucial for smooth operation and maintaining flight reliability in various conditions.
9.2 Checking Weather Conditions
Always check the weather before flying your Vivitar drone. Avoid strong winds, heavy rain, or extreme temperatures. Ensure the area is open and free from obstacles. High altitudes and cold temperatures can affect battery performance. Adverse weather conditions may lead to unstable flight or damage, so plan accordingly for a safe and enjoyable experience.
Basic Flight Operations
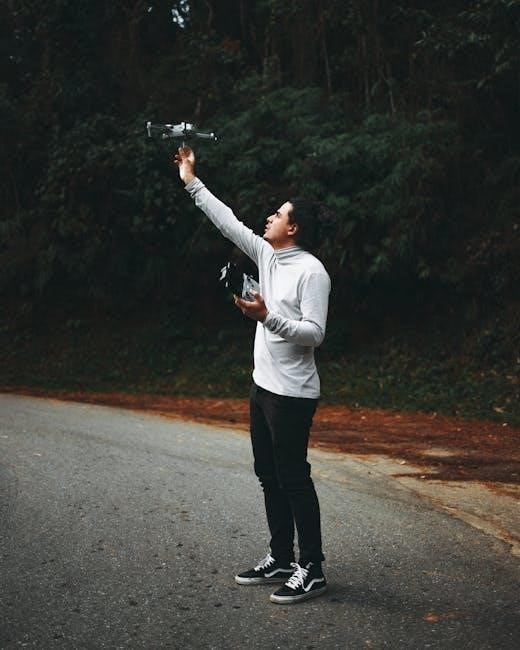
Start by powering on the drone and remote. Ensure the area is clear, then gently throttle up for takeoff. Begin with simple movements to get accustomed to controls.
10.1 Starting the Drone
Ensure the drone is fully assembled with propellers securely attached. Insert 4 AA batteries into the remote controller, following polarity signs. Power on both the drone and remote. Sync the remote with the drone by pressing the specified button or moving the sticks as instructed. Check for slow propeller spinning, indicating readiness. Perform pre-flight checks and calibration on a flat surface. Gradually increase throttle for liftoff, starting in beginner mode for safe practice. Stay alert and maintain line of sight, flying in an open area without obstacles. Consult the manual for troubleshooting any startup issues.
10.2 Understanding Flight Modes
Vivitar drones feature multiple flight modes tailored for different experiences. Beginner mode stabilizes the drone, reducing speed for easier control. Sport mode unlocks higher speeds for thrilling maneuvers. GPS mode enables advanced navigation and waypoints. Altitude hold mode maintains a steady height, ideal for photography. Familiarize yourself with each mode’s settings and limitations to enhance your flying skills and safety. Experiment in open areas to master transitions between modes seamlessly.
Advanced Features
Vivitar drones offer advanced features like GPS navigation, high-definition video recording, and automatic flight modes. These capabilities enhance your flying experience and capture stunning aerial footage effortlessly.
11.1 GPS Navigation
The Vivitar drone’s GPS navigation system allows for precise positioning and stable flight; This feature enables waypoint mapping, return-to-home functionality, and automatic takeoff/landing, ensuring a seamless and controlled flying experience. Use the Vivitar UFO app to set waypoints and track your drone’s location in real-time, enhancing your aerial photography and videography capabilities with accuracy and reliability.
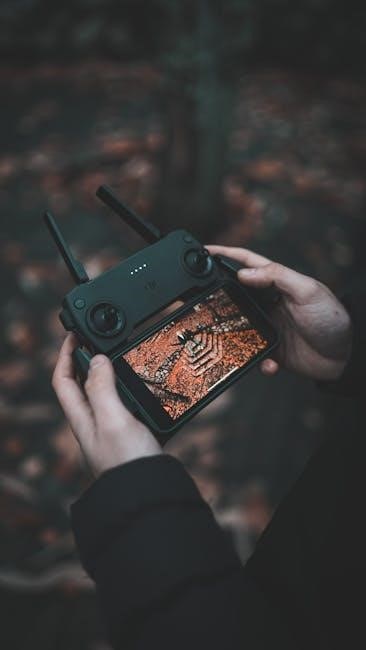
11.2 Video and Photo Capture
Capture stunning moments with your Vivitar drone’s high-definition camera. Use the Vivitar UFO app to adjust settings, record 1080p HD video, or take crisp photos. Features like image stabilization ensure smooth footage, while burst mode and time-lapse add creativity to your shots. Store your media on a microSD card and transfer it easily to your device for editing and sharing, preserving your aerial adventures in vivid detail.
Troubleshooting Common Issues
Encounter issues? Check connections, reset systems, or update firmware. Consult the manual or contact support for guidance to resolve problems quickly and ensure smooth drone operation.
12.1 Resolving Connectivity Problems
Experiencing connectivity issues with your Vivitar drone? Start by restarting both the drone and remote controller. Ensure the Wi-Fi connection is stable and the Vivitar UFO app is updated. If problems persist, reset the drone to factory settings. For further assistance, refer to the troubleshooting section in the manual or contact Vivitar support. Proper connectivity is crucial for seamless operation.
12.2 Addressing Flight Instability
If your Vivitar drone exhibits instability during flight, ensure all propellers are securely attached and properly aligned. Check for obstructions or damage to the motors. Calibrate the drone according to the manual and verify that the remote controller is synced correctly. If issues persist, reset the drone to factory settings or consult the troubleshooting guide for further assistance.
Maintenance and Care
Regularly clean your Vivitar drone with a soft cloth to remove dirt and debris. Store it in a protective case to prevent damage. Avoid exposure to moisture and extreme temperatures to ensure longevity. Check and update the firmware periodically for optimal performance and safety.
13.1 Cleaning the Drone
Regular cleaning is essential for maintaining your Vivitar drone’s performance. Use a soft, dry cloth to wipe down the drone’s surface, removing dirt and debris. For tougher spots, lightly dampen the cloth with water, but avoid harsh chemicals or excessive moisture. Gently clean the camera lens and sensors with a microfiber cloth. Allow the drone to air dry completely before storing or flying again to prevent damage.
13.2 Updating Firmware
Regular firmware updates are crucial for optimal drone performance. Connect your Vivitar drone to a compatible device via Wi-Fi, open the Vivitar UFO app, and check for updates. Download and install the latest firmware following on-screen instructions. Ensure the drone is fully charged and avoid interrupting the update process. Restart the drone after completion to apply changes. This ensures enhanced features, improved stability, and compatibility with the latest advancements in drone technology.
Legal and Regulatory Considerations
Understand and adhere to local drone laws, ensuring compliance with regulations. Avoid flying in restricted areas, such as near airports or national parks, to prevent legal issues.
14.1 Understanding Local Drone Laws
Before flying your Vivitar drone, familiarize yourself with local regulations. Many areas require registration for drones over a certain weight and prohibit flight near airports or restricted zones. Ensure compliance with altitude limits and respect privacy laws to avoid legal consequences. Always check for updates as drone legislation frequently evolves to ensure safe and responsible usage.
14.2 Flying in Restricted Areas
Flying in restricted areas, such as national parks, airports, or government buildings, is prohibited. Use the Vivitar UFO app or local resources to identify these zones. Violating these restrictions can result in legal penalties. Always plan your flights carefully and consult up-to-date maps to ensure compliance. Respect restricted areas to maintain safe and responsible drone operations.